Basic Tool Usage
Zeek
Process a Pcap
The following command will output Zeek logs in the current directory. Because of this we recommend creating a new directory first, in this case the logs directory.
mkdir logs
cd logs
Next, modify the following command to give the correct path to your pcap file. You only need to change the pcap path. Do not change the word local.
zeek -r /path/to/sample.pcap local
The Zeek arguments are:
-r /path/to/sample.pcapis the path to the pcap you want to process.localis the name of the Zeek script to use to process the pcap.
Depending on what you are doing next you may want to either stay in the current directory to work directly with the newly generated Zeek logs, or you may want change back to your original directory.
cd ..
Here is a sample of the logs generated that you can find in your logs directory:
conn.log- Connection information for TCP, UDP, and ICMPdns.log- DNS requests & responseshttp.log- HTTP requestsssl.log- SSL/TLS certificate information
You can find more information about these logs in Zeek’s documentation or in Corelight’s Cheatsheets.
RITA
Import Zeek Logs
The following command assumes you have your Zeek logs in the logs directory and you want to name your dataset sample.
rita import logs sample
Viewing Results
In general, the syntax for viewing results is:
rita COMMAND dataset
Where COMMAND is one of:
show-beacons- Print hosts which show signs of beaconing activityshow-exploded-dns- Print dns analysis. Exposes covert dns channelsshow-long-connections- Print long connections and relevant informationshow-strobes- Print strobe informationshow-useragents- Print user agent information
These are the commands you will find most useful in these labs. You can run rita --help to see the full list of commands you can use.
You can also run rita COMMAND --help to view detailed usage for each command. Most of the commands support these options:
-H, --human-readable- Prints the results in an ASCII table that is easier to read on the command line. By default RITA outputs CSV format that is suitable for importing into a spreadsheet or further processing with the likes ofgrep,cut, andsort.--limit 10- Sets the number of results that are output. This is equivalent to piping totailbut will return results quicker.--no-limit- By default the limit is set to 1000 but if you wish to see all results you can use this flag.
HTML Report
Run the following command on your dataset. In this case the dataset name is “sample”.
rita html-report sample
This will generate HTML files with the results from the dataset. It should open the report in a web browser for you. But if you need to you can open this file manually: sample/index.html

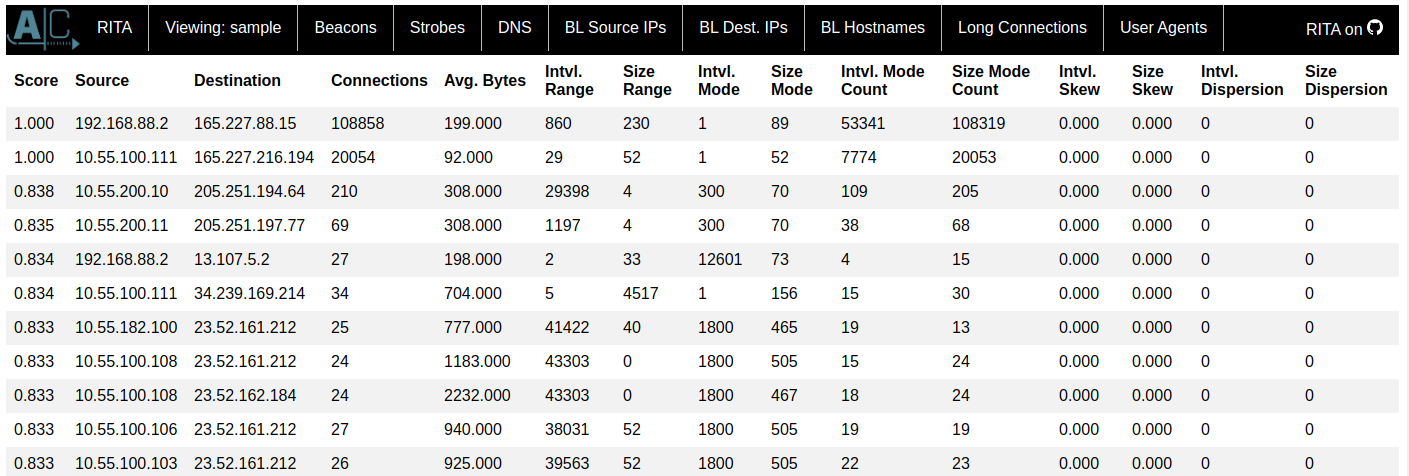
Click on the dataset name “sample” and you should see this screen.

Navigate between the different reports using the labels on the top of the screen. For instance, clicking Beacons will display a table with the beacon results in it.